This article contains a detailed guide to creating a 2D game with Unity, using the example of creating the Flappy Bird game.
First, let's look at the basic definitions so that it's clear what Unity is, what a 2D game is, and what Flappy Bird is.
Unity is a game engine that lets you create games for a variety of platforms, including computers, mobile devices, and consoles. Unity has a variety of tools for creating games, including the ability to work with 2D graphics.
A 2D game is a game where the entire game world is limited to a two-dimensional plane.
Flappy Bird is a simple 2D game where the player controls a bird trying to fly between rows of pipes without hitting them.
Now that we know the basic concepts, let's move on to creating the Flappy Bird game.
Step 1: Creating a new project in Unity
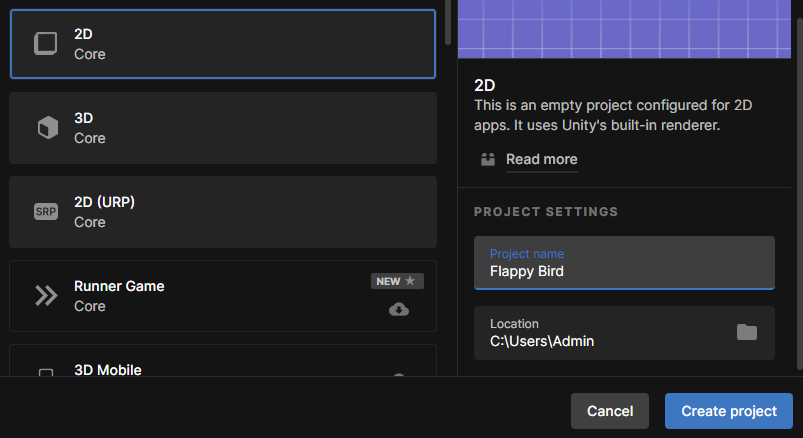
To get started, open Unity and create a new project. Name the project “Flappy Bird” and set the settings that match your computer.
Step 2: Creating a game scene
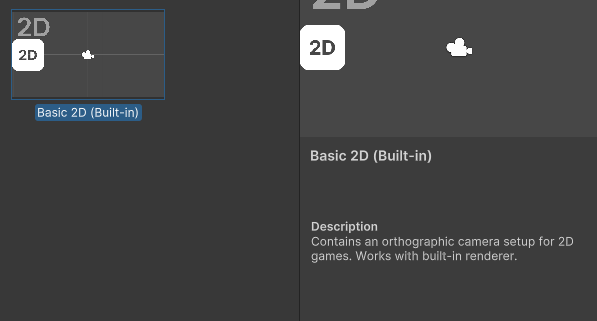
After creating a new project, create a new game scene by clicking on “File” -> “New Scene”. In the window that opens, select 2D mode.
Step 3: Creating game objects
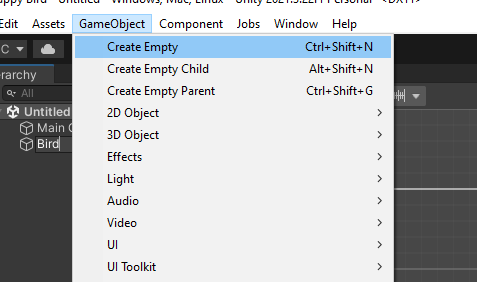
Create game objects that will be used in the game. Create a Bird object and a Pipe object. To create a new game object, click GameObject -> Create Empty.
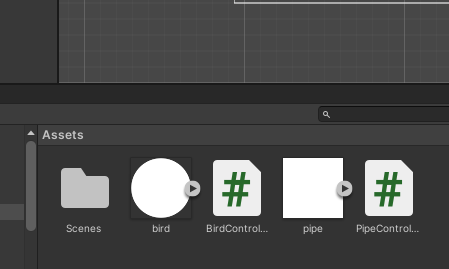
Step 4: Creating sprites
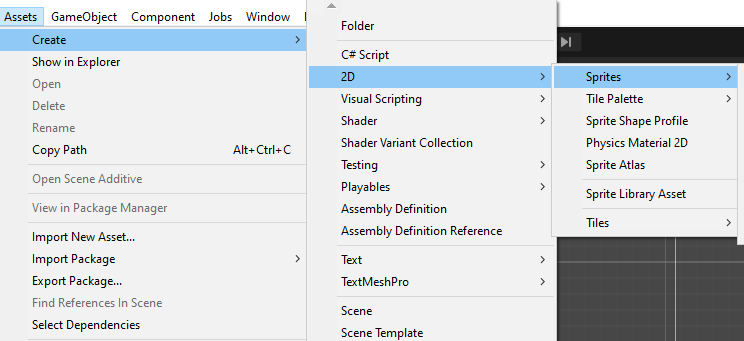
Create sprites for game objects. A sprite is a 2D image that is used to display a game object on the screen. To create a new sprite, click Assets -> Create -> Sprite.
Step 5: Adding sprites to game objects
.png)
Add sprites to the Bird and Pipe game objects. To do this, select the game object and drag the sprite onto the Sprite Renderer component in the Inspector window.
Step 6: Adding physics to game objects
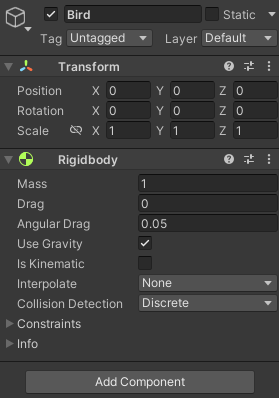
Add a physics component to the Bird and Pipe game objects.
Physics is a system that allows you to determine how objects will interact with each other in the game. To do this, select a game object and add the “Rigidbody 2D” component to the Inspector window. This component will allow objects to respond to gravity and other physical laws.
Step 7: Creating a bird management script
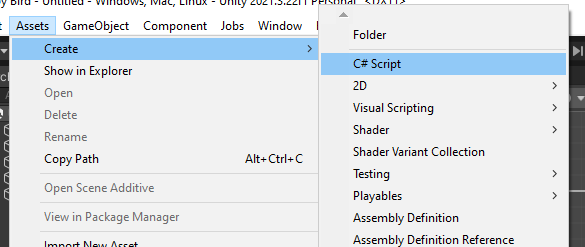
Create a new script that will control the bird's behavior. To do this, click on “Assets” -> “Create” -> “C# Script”. Name the script “BirdController”.
Open the script in Visual Studio (or another IDE you're using) and add the following code:
This code adds a bird control component to the Bird game object. When the player presses the spacebar, the bird jumps up with the force defined in the “JumpForce” variable. The “Rigidbody2D” component was saved in the “rb” variable in the “Start” method.
Step 8: Adding a script to a bird
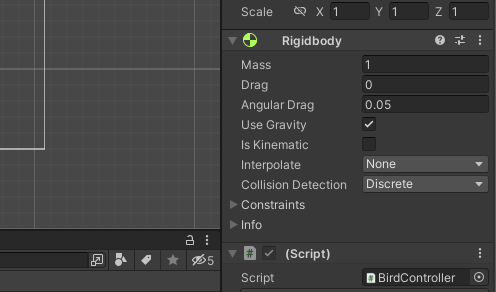
Add the “BirdController” component to the “Bird” game object. To do this, drag the script to the Bird game object in the Hierarchy window.
Step 9: Creating and managing pipes
Create the required number of “Pipe” objects and adjust their location. To control the movement of pipes, create a new script, name it “PipeController” and add it to the “Pipe” game object. Open the script in Visual Studio and add the following code:
This code moves pipes to the left at the speed defined in the “speed” variable. The “Transform” component was saved in the “transform” variable. Note the use of “Time.deltaTime” to control speed in different systems.
Step 10: Adding colliders

Add a collider component to the Bird and Pipe game objects.
To add a collider, select a game object in the Hierarchy window, then click the Add Component button in the Inspector window and select Box Collider 2D. The collider must be configured to exactly match the boundaries of the object.
The following values can be used to configure the Bird game object collider:Size: (0.8, 0.6, 0) — the collider's x and y dimensions.
Offset: (0, 0, 0) — the collider's displacement relative to the game object.
The following values can be used to configure the Pipe game object collider:
Size: (1.5, 5, 0) — the collider's x and y dimensions.
Offset: (0, 0, 0) — the collider's displacement relative to the game object.
Step 11: Adding a game control script
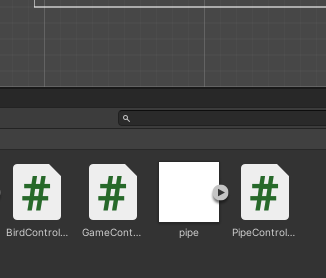
Create a new script that will control the game. Call it GameController. Open the script in Visual Studio and add the following code:
This code adds a game control component to the GameController game object. When a bird dies, the BirdDied method is called to show the “Game Over” text and stop the game.
Step 12: Adding a script to pipes
Add the PipeController component to all Pipe game objects. Then modify the “PipeController” script as follows:
This code also moves the pipes to the left, but also destroys the “Pipe” game object when the pipe goes off the screen.
Step 13: Adding a scene
To create a new scene, select File -> New Scene in the Unity Editor. Then save the new scene as “Game” by selecting “Save As” from the “File” menu. You can now start adding objects to your new scene.
Step 14: Arranging objects on stage

Drag the “Bird” game object to the “Game” scene. Then drag the “Pipe” game object onto the stage several times to create multiple pipes.
Place the pipes on stage however you like.
Step 15: Camera setup
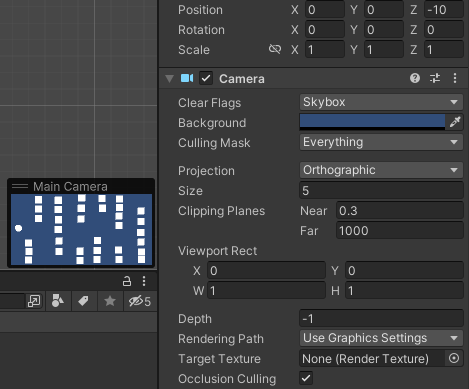
Add the camera to the stage and position it so that it looks at the stage from the side. Set the camera's “Size” to 5 to zoom in on the game scene.
Step 16: Setting the background
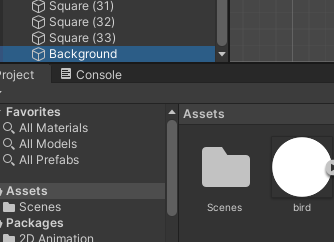
Add the “Background” game object to the stage and place it so that it is behind the camera. Adjust the size of the “Background” game object so that it occupies the entire screen area.
Step 17: Adding a bird management script
Add the “BirdController” component to the “Bird” game object. Then modify the “BirdController” script as follows:
This code adds a bird control component to the Bird game object. When the player presses the spacebar or the left mouse button, the bird jumps. When a bird collides with a pipe, the “BirdDied” method is called, which ends the game.
Step 18: Launching the game

To launch the game, click the Play button in the Unity Editor. Try to control the bird so that it flies through the pipes.
If a bird collides with a pipe, the game ends. To stop playing, click the Stop button in the Unity Editor.
Step 19: Creating an interface
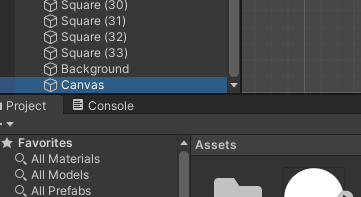
Add a new game object to the scene and name it “Canvas”. Add a “CanvasScaler” component to Canvas and adjust it to match your screen resolution.
Add a Text interface element to Canvas. Move this interface element to the corner of the screen and resize it to reflect the player's current score.
Step 20: Adding a game control script
Create a new script in Unity and name it “GameController”. Modify the code as follows:
This code adds a game control component to the game object. He also controls the score and the end of the game. If a player scores points, the score increases. If a bird collides with a pipe, the game ends and a message about losing is displayed. The player can start a new game by pressing the left mouse button.
Step 21: Linking components
Link the Canvas, GameOvertext, and ScoreText game objects to the corresponding variables in the GameController script.Drag the GameController game object onto the stage and place it outside the game area.
Step 22: Launching the game
Click the Play button in the Unity editor and check that the interface works correctly. Try to score as many points as you can by controlling the bird and flying through the pipes.
Step 23: Exporting a game

Once you've finished creating a game, you can export it to run on other devices. To do this, follow these steps:
Select File -> Build Settings.
In the window that opens, click the “Add Open Scenes” button to add the current scene to the list of scenes to build.
Select the platform you want to export your game to. For example, to export to Android, select the “Android” platform.
Click the Switch Platform button to switch to the selected platform.
Click the Player Settings button to open the platform settings. Here you can adjust various settings, such as screen resolution, control settings, etc.
Once you've configured all the settings, click the Build and Run button to create the APK file and run it on the connected device.
Congratulations, you've successfully created your first 2D Unity game! We hope that this guide was useful for you and helped you understand the process of creating the game. Good luck in further developing your creativity!
And if you want to fully master Unity, sign up for a free Unity trial lesson at our ProgKids programming school for kids.
The full script code is available here: https://github.com/KarenConstantine/flappy_bird/blob/main/2d.txt
Karen Konstantin
Progkids teacher