To create a local server in Rust, you can follow these steps:
Step 1: Install the Rust server program on your computer. You can download it from official website.

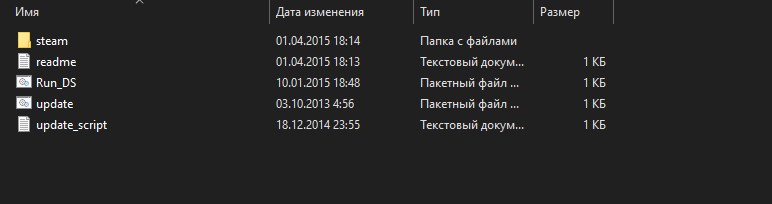
Step 2: Create a folder on your computer on a disk with more than 10 GB of free space. Then transfer the downloaded archive to the folder you created and extract the contents of the archive.
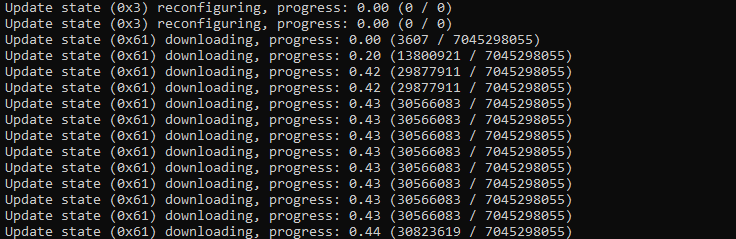
Step 3: Next, run the update file and wait until the components for your server are downloaded.
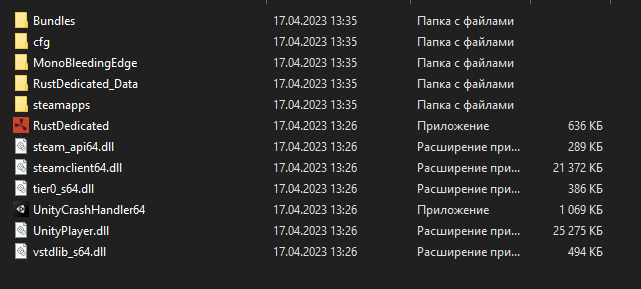
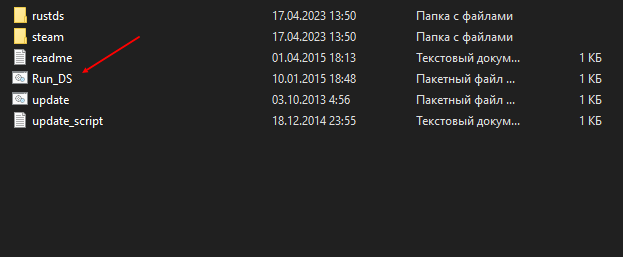
Step 4: Once the updates are complete, you will have a rustds folder. Congratulations, the server has been downloaded successfully, now it's time to start it!
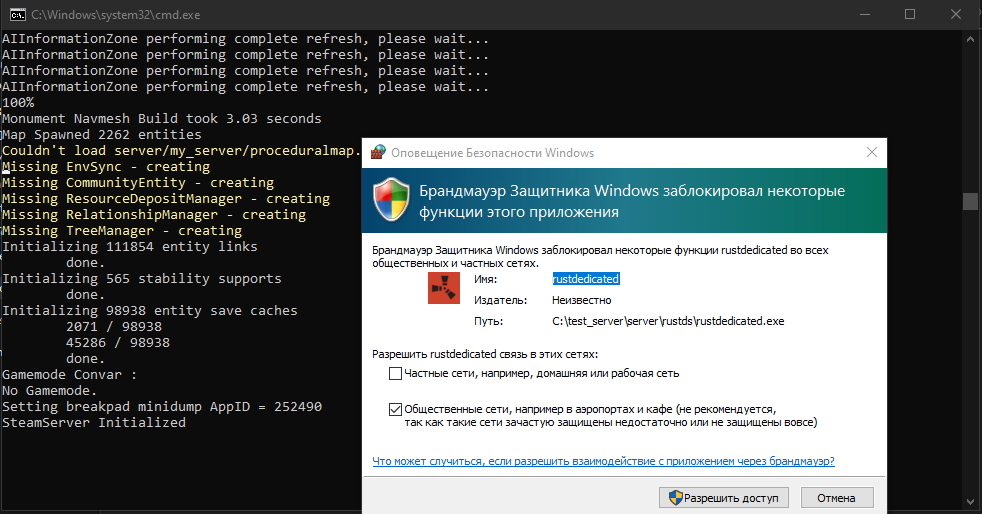
Step 5: To start your server, run the run_DS file and wait until your server is set up and running.
Step 6: When the server starts, the firewall will ask you for access to start the server, click the “Allow Access” button to start the server.
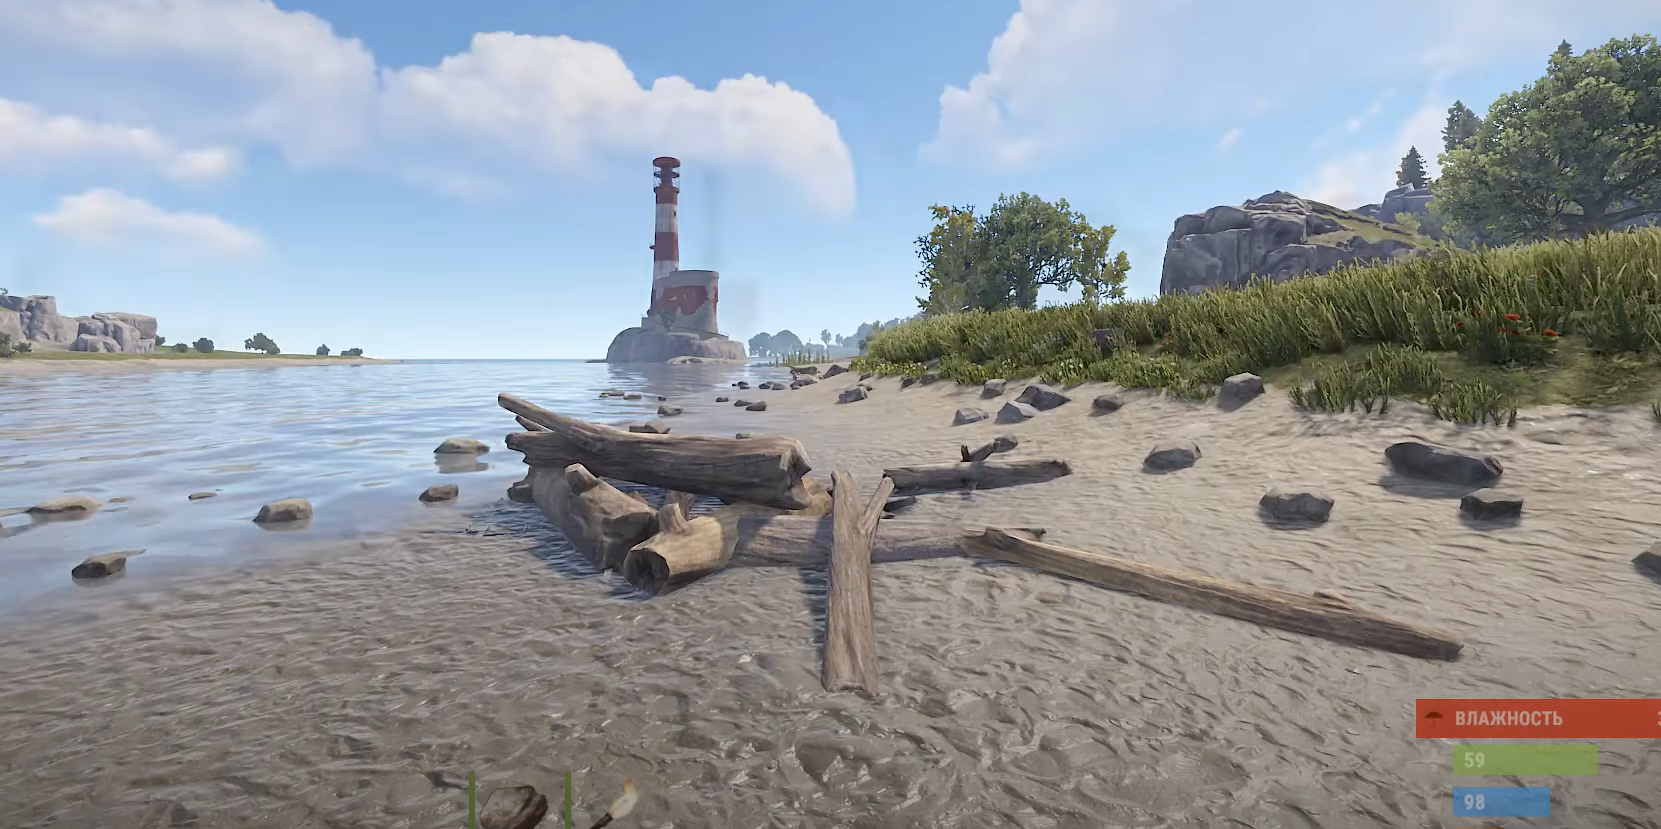
Step 7: After starting the server, go into the game, press F1 and type the command in the lower left corner: connect 127.0.0. 1:28015, then press Enter.

Congratulations! You have successfully logged in to your server.
If you need an admin panel on your server to be able to quickly move around the map or give yourself various items, follow these steps:
Step 1: Disconnect from the server.
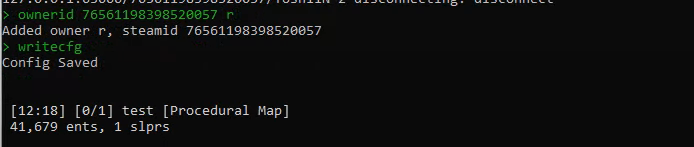
Step 2: Open the command prompt and enter the commands as shown in the screenshot, but instead of numbers, enter your Steam ID:
ownerid”Your Steam ID” r
then press the Enter button.
To avoid entering this command every time the server starts, type the following command:
writecfg
and press Enter to save changes.
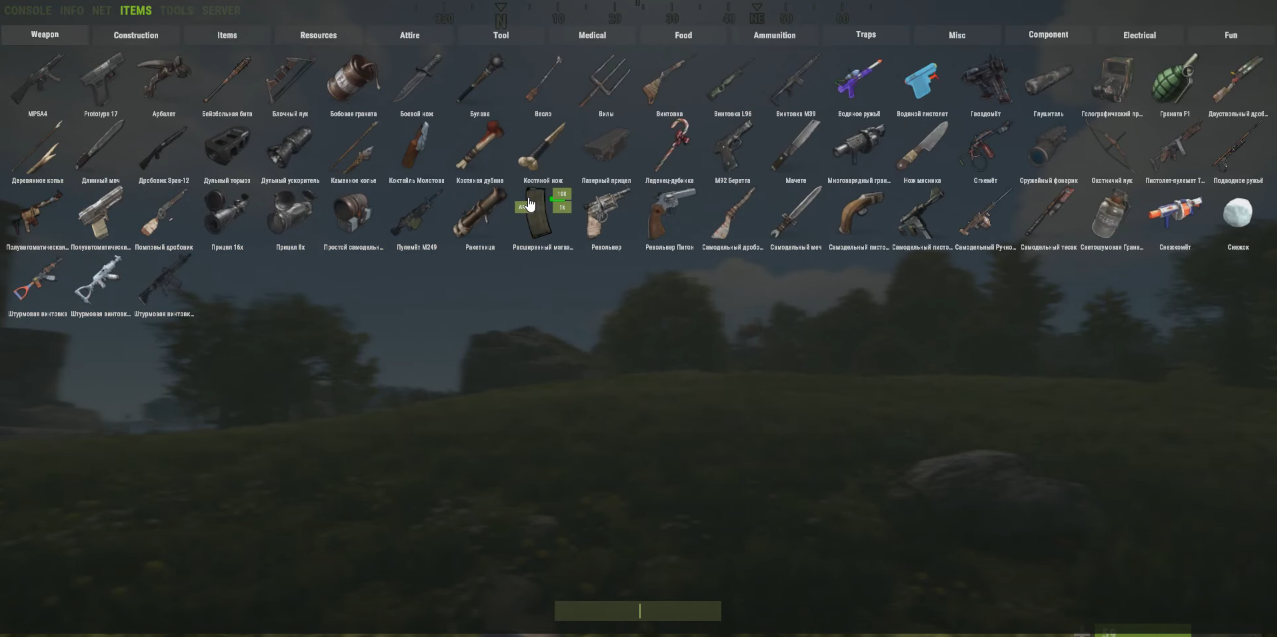
Step 3: Go to your server and press F1 to open a list of all available items in the game.
Step 4: To quickly navigate the map, enter a command into the console by pressing the F1 button:
bind”any key that is convenient for you” noclip
For example: bind z noclip

In this guide, we've learned how to create your own local server where you can do whatever you want. Experiment and enjoy the game. And remember that the options for creating and configuring a server in Rust are almost endless, so feel free to experiment and customize it to your needs. We wish you good luck and a good game!
Yana Ulyanova
Progkids teacher