Roblox Studio is a tool for creating games on Roblox that is used by many developers around the world. In this article, we'll look at how to create a game in Roblox Studio, from the most basic steps to setting up game mechanics.
Step 1: Install, launch Roblox Studio, and create a new project.
Before you start creating a game in Roblox Studio, you need to download and install the program on your computer. You can download Roblox Studio from the official Roblox website. Once downloaded, run the installer and follow the on-screen instructions to install the program on your computer.
Once installed, launch Roblox Studio. In the New section, choose a template that you like.
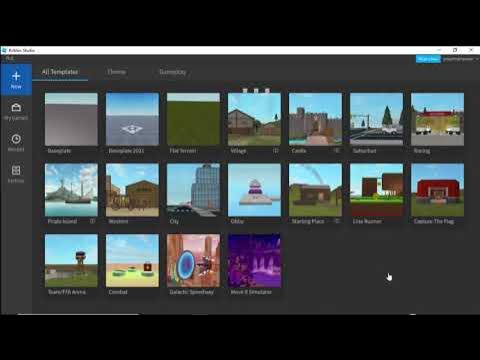
You'll see a window where you can start creating your game.

All the tools for creating a game are available in the main window, such as a scene editor, object editor, scripts, and much more.
It's important to note that you don't need to be a programmer or have experience in creating games to create a game. Roblox Studio has a simple interface that makes it easy to create games without coding knowledge. But if you want to create more complex games, knowing the Lua programming language can be helpful.
You also need a Roblox account to start creating a game in Roblox Studio. If you don't have an account yet, create one on roblox.com. Once you've created your account, you'll be able to sign in to Roblox Studio and start creating your first game.
Step 2: Creating the world.
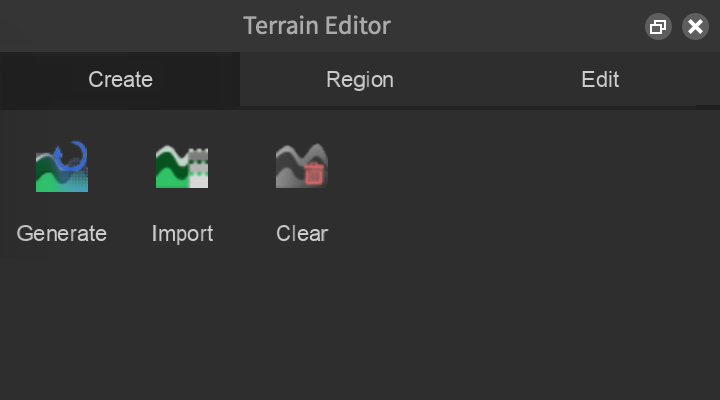
Creating a world is the first step in creating a game in Roblox Studio. Click the “Terrain” button on the toolbar to open the world creation menu. Select the terrain and click on the “Create -> Generate” button. You can then adjust the size and height of the world, and add textures.
Step 3: Add objects and characters.
Now that the world is created, you can start adding objects and characters. Click on the “Explorer” button on the toolbar to open the object menu. Select an object category, such as Parts, and add the object you want to the map. To add a character, select the “Character” category and add the character you want.
Step 4: Add objects and scripts.
To create a game world, you need to add objects and scripts. Objects are the elements that make up the game world, such as characters, decorations, and obstacles. Scripts are instructions that control object behavior and game mechanics.
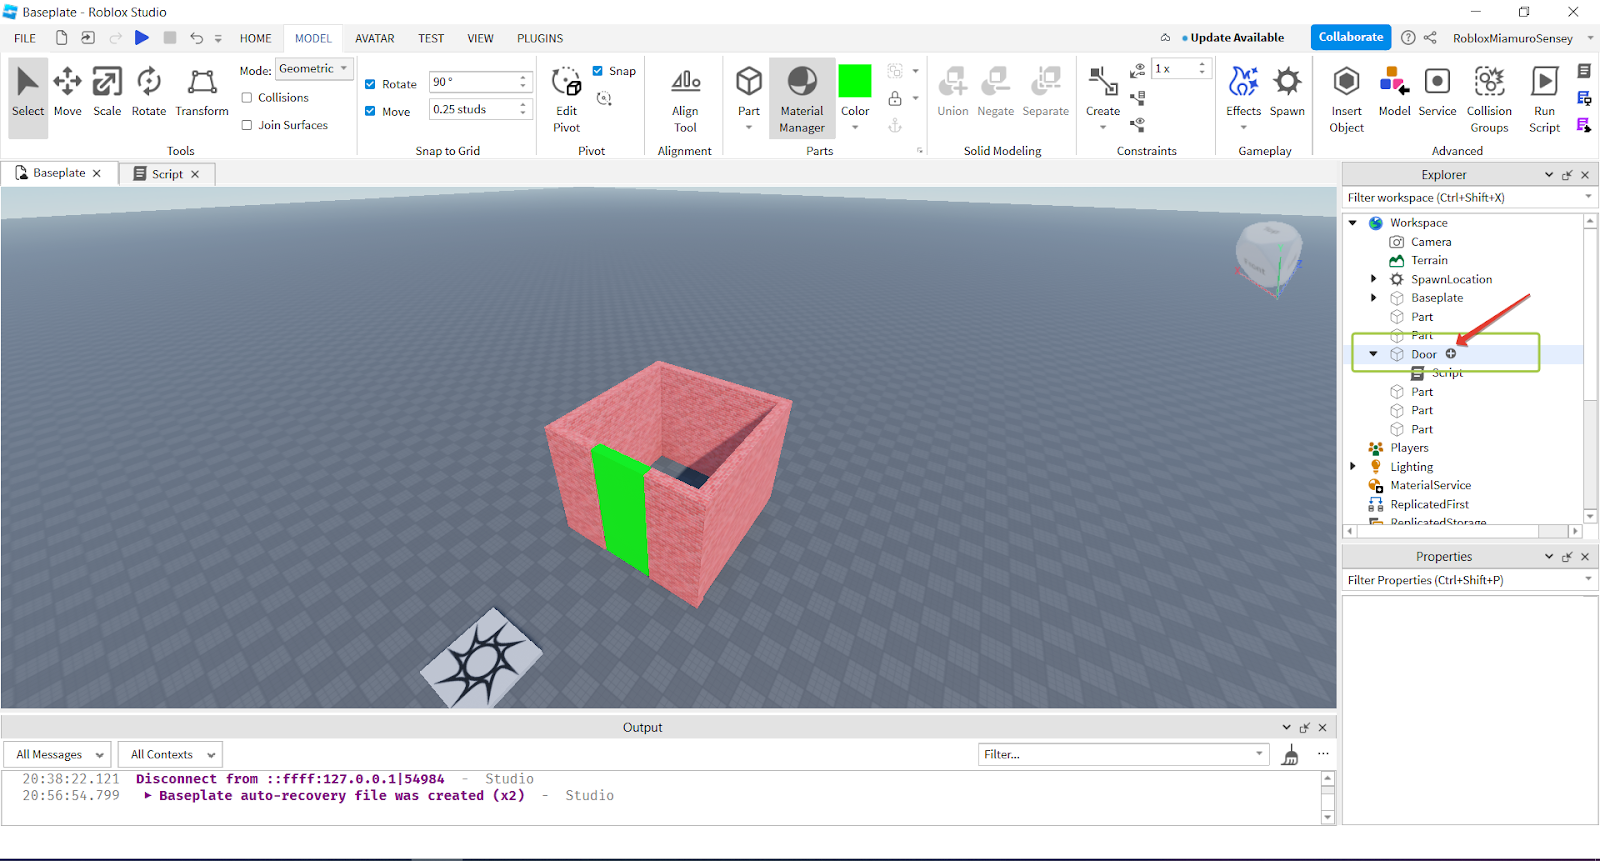
Let's look at an example. You can create a simple playing field where the character will move and collect coins. To do this, create a “Baseplate” object that will be land. Then create a “Part” object and place it on “Baseplate”. This object will represent a coin. To make a coin available for collection, you need to add a script that will process the coin collection event. Add a script to the “Part” object and write code that will remove the coin when collected:
This code checks when a player's character touches a coin. If a player touches a coin, he removes the coin and adds one coin to his counter. This way, you can create simple game mechanics that allow the player to collect coins and earn points.
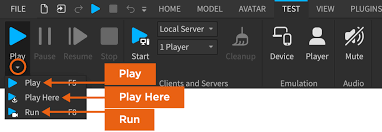
Step 5: Testing the game.
Once the game mechanics are set up, you can start testing the game. Click on the Play button on the toolbar to launch the game. In the game, you can test all the mechanics you've created and make sure they work correctly.
Step 6: Publish the game.
Once the game is ready, it can be published on the Roblox platform. Click the “Publish to Roblox” button on the toolbar to open the game's publishing menu. Enter a game name, description and select a category. After that, click on the Publish button to publish the game.
In conclusion, creating a game with Roblox Studio is a fun and creative process that can be fun and rewarding. If you want to learn more about creating games with Roblox Studio, we recommend signing up for a course at ProgKids Online School. We offer training on creating games on Roblox for children aged 7 to 17. Our tutors can help you create your own game and publish it on Roblox. Sign up for your first free lesson with a teacher today and start your journey to creating your own game!
Pavel Makarov
Progkids teacher